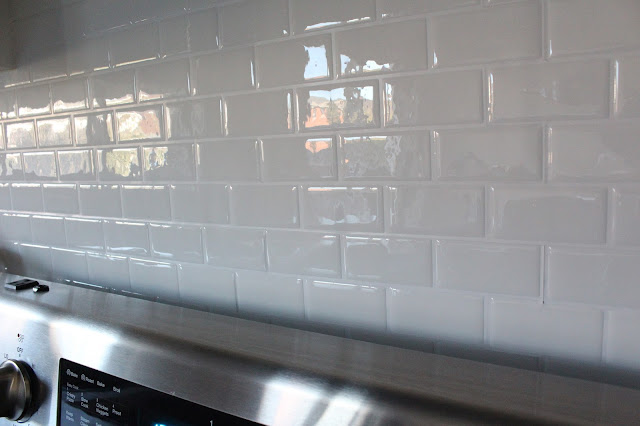
So, I couldn't keep the tiles as they were. And, I wasn't going to tear out the tiled backsplash. So, I discovered Smart Tiles and love that not only are they super easy to install they're Canadian.
The Look:
I wanted a clean and minimal look. I chose the Smart Tiles Subway tile in white. First, what are Smart Tiles? They are made of a patent gel vinyl that gives it a three dimensional effect. They won't yellow over time and the stick-on is durable and stays stuck on.
Supplies:
- degreaser solution like TSP
- Exacto knife
- metal ruler
- scissors
- cutting board
- Smart Tiles
- caulking for vinyl tiles
How to:
Measure how many tiles you need. They come in pre-cut sheets. After choosing the style you want you can determine how many you need. For my project I used approximately 50 tiles. Refer to the Smart Tiles site for more info.
Prep:
If applying directly to pre-existing tiles you need to properly wash your backsplash with a product like TSP Degreaser (which is the same product I used to wash my cabinets prior to painting them).
Also, your pre-existing tiles will hopefully have been laid properly and not jagged or protruding or else your stick on tiles will not lay properly.
TIPS:
When sticking on your tiles, go in one direction. Left to right, I made the mistake on starting on the back wall first so when I had to finish the left wall my tiles had to be placed from right to left which made it harder to apply. The tiles are created so you place them in a continuous method from left to right. Also, keep all the pieces you cut as you'll need them later to fill in spots.
Keep the backings from the stick-on tiles as I used that as a template for the next tile. Just use the backing lined up with a new tile and cut where needed. I found that the tiles cut easier from the back so that method worked for me. And, I'd use scissors for smaller pieces and cutting around outlets. Don't worry if you lay them crooked as the tiles are easy to take off and adjust. Because I used the subway tile it was easy to cut and line up my pieces. I originally wanted to use the Hexago style and glad I didn't for this project. However, now that I'm a "pro" I'd definitely use Smart Tiles again elsewhere.
For a nice clean look and to really trick your guests into thinking they're real tiles. Use caulking to finish off.
For more info and where to purchase:
visit Smart Tiles
(disclaimer: Smart Tiles were provided for review. Post is based on my personal experience and honest review. No further compensation is provided.)


No comments
Post a Comment
Comments are lovely! Thank you for stopping by beauty parler, the online powder room...